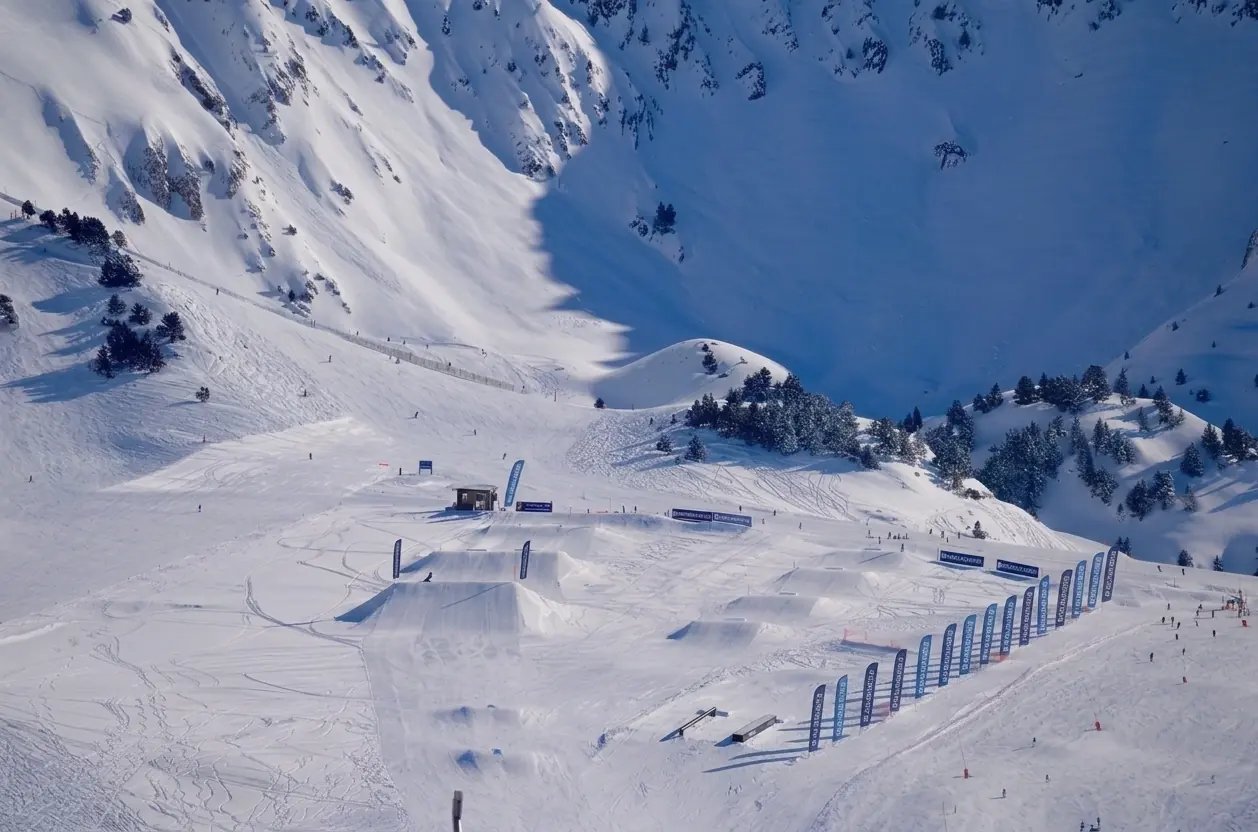
In Baqueira, the first mistake I see again and again in the Era Marmota snowpark is the same one, whether the student comes from skiing or from snowboarding: dropping into the first feature without having watched anything beforehand. Skiing well on piste gives you fluency and speed control, but it does not teach you to read a kicker, a box or a rail — that is learnt in the park, and it is learnt badly if it is learnt without a method. In our freestyle lessons in Baqueira, Sergi and Pablo — TD2 instructors who specialise in this discipline — always work on that foundation before they let anybody into the park.
Why “I already jump on piste” is not the same as a freestyle lesson for the park
Era Marmota está en la pista Marmòtes, sector Beret, con tres líneas de progresión señalizadas con el sistema O open / X closed por los shapers.
Green line
The beginners' line: the simplest features in the park, and the only section the Jesús Serra chairlift reaches — handy for short laps.
Blue line
The intermediate step. You move up to it when your movement on the green line is already consistent, never because you landed a trick once.
Red line
The most demanding features at Era Marmota, with landings that do not forgive an off-centre approach.
Access is not uniform: the Fernández-Ochoa drag lift and the Dera Reina chairlift give you access to the whole park and all three of its lines; the Jesús Serra chairlift, by contrast, only reaches the bottom section of the green line — handy for short beginner laps, not for working the full park. The features — jumps, boxes and rails — are not fixed either: a team of shapers modifies and adapts them constantly through the season according to the snow and the wear.
That has a consequence almost nobody explains before a first visit: the feature you saw last week may not be the same one today. Which is why the first habit we teach at Alpine is not a technical one — it is observation.
When the park opens (and when it does not)
Era Marmota has standard opening and closing times, like the rest of the resort. But in the snowpark, safety can shift those times in either direction: delaying the opening, closing the whole park, or closing only certain lines or individual features while the rest stays open. When the snow is too hard first thing, the opening is put back until the sun starts to soften it — a common situation in spring, when on some days it does not open until 11:00. But a line or a feature can also be closed halfway through the day if the snow turns to “mashed potato” — heavy and grabby — or if conditions stop being safe at that particular point, even though the rest of the park is still open. It is not an arbitrary delay or closure: jumping on the wrong snow multiplies the risk on any landing. Always check the status of the park and of each line before you head up with a specific goal in mind — it can change between going up and coming down.
How a snowpark really works: the job behind every feature
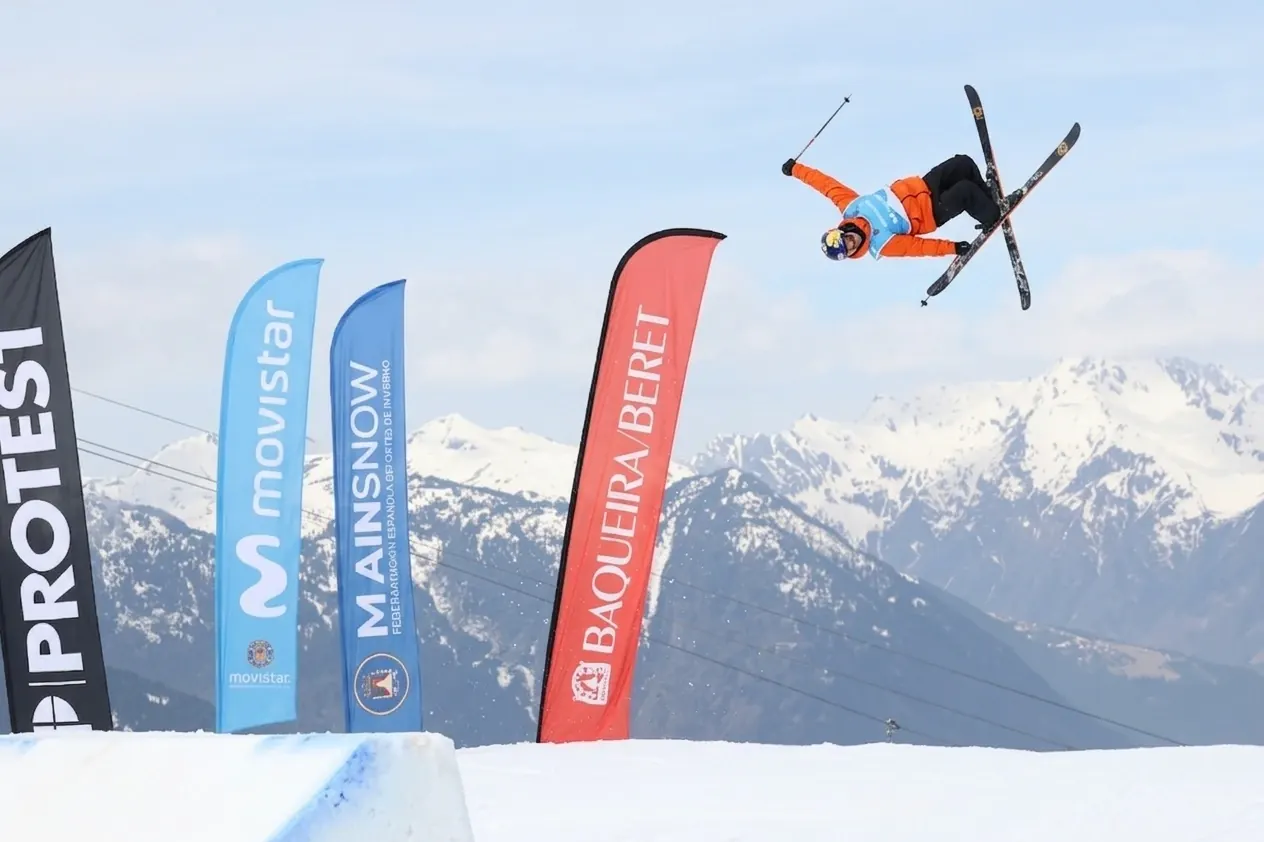
A snowpark is not built so that a jump looks spectacular in a photograph. It is built, above all, to be safe — and that is literally the criterion the team who maintain Era Marmota work to every day: the build, the running of it and, above all, “making the jump or the rail as safe as possible” is the stated priority of the person who has spent a decade in charge of the park.
Behind every feature there is specialist machinery, earthworks and machine-made snow — as much as 95 % of the material in the park is not natural snow but manufactured snow and compacted earth — plus a team of several shapers and machine drivers working every single day. That explains why the layout changes: it is not a whim, it is the active maintenance of a space designed to last a whole season, not just one perfect weekend.
“Muscle memory has to be trained.”
— Marc Gómez, more than two decades training freestylers in the Val d'Aran and teacher of the freestyle module on the SAFE Formación TD2 course
The snowpark works like a technical gym — you progress through repetition, not through isolated attempts. The more quality repetitions you do, the finer the movement becomes, and that muscle memory cannot be trained out on the open mountain, where the snow, the risk and the visibility change on every run. In the park, by contrast, you control the variable and repeat until the movement stops being an attempt and becomes a habit.
Park SMART: the safety framework we apply in every session
At Alpine we follow the Park SMART system, developed by the National Ski Areas Association together with Burton, PSIA-AASI and National Ski Patrol:
- Start smallYou do not jump straight onto the feature that looks the most fun; you build your level up from the simplest one on your line.
- Make a planBefore every feature, without exception: what you are going to do, where you drop in from, at what speed, where you are going to land and what you do if something goes wrong.
- Always lookA look from the side before you drop in: who is above you, who is in the landing, whether the feature is open, what the snow is doing.
- RespectThe signage, taking your turn, the other riders and, above all, never crossing a landing zone.
- Take it easyKnowing your limits is not about going slowly, it is about not attempting a manoeuvre whose consequences you cannot control.
Pop, ollie and the phases of a jump that really matter
A common technical mistake among beginners is confusing pop with ollie. Pop is a fast, symmetrical extension of both legs at the same time — it is what you use to take off from a kicker. The ollie loads the tail first and releases that energy sequentially — it is what lets you jump from flat ground or get onto a box. Confusing the two means the student tries a movement designed for flat ground on the kicker, and that destabilises the take-off.
Any jump breaks down into five real phases:
Freestyle equipment: the basics that change everything
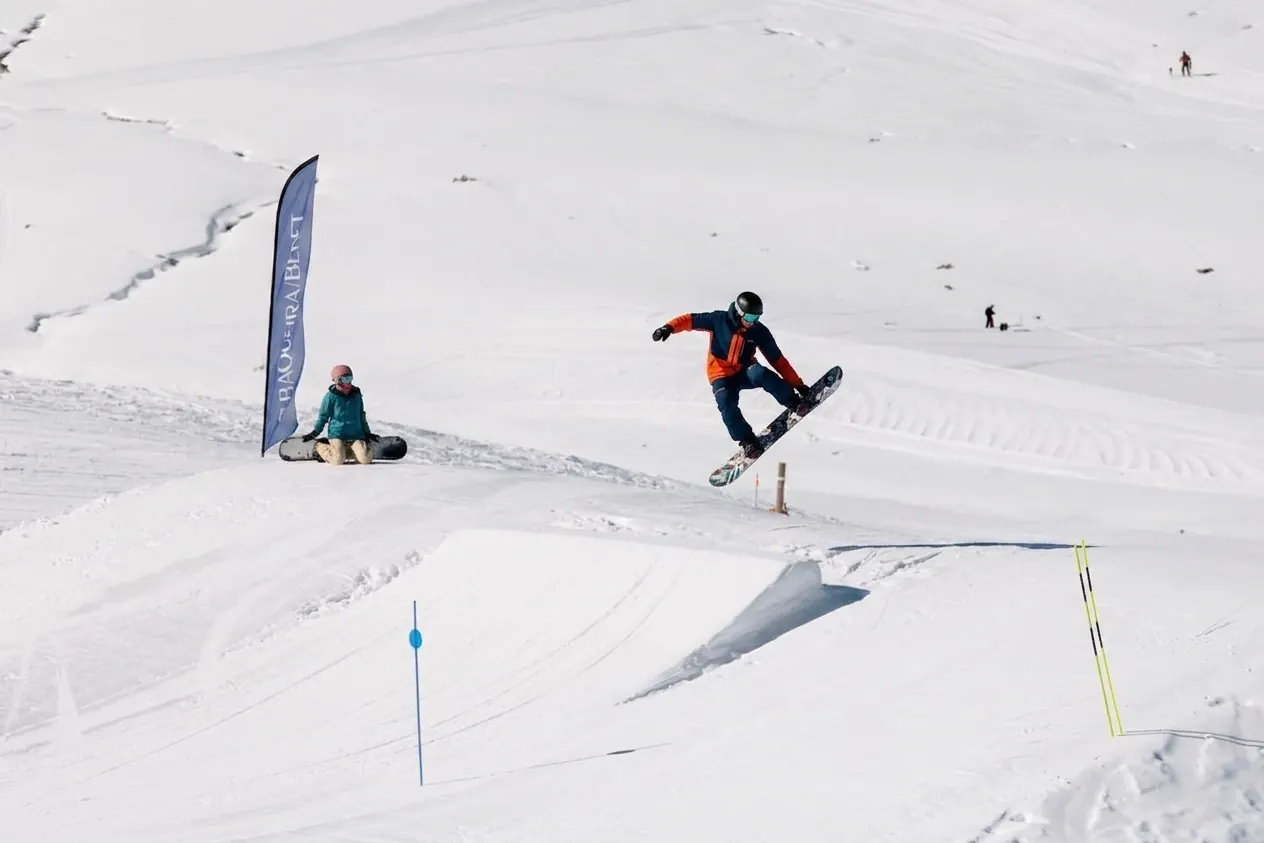
One of the most expensive mistakes — literally, in avoidable injuries — is going into the park on equipment designed for the piste. Freestyle skis have less curve in the sidecut, a medium-wide waist and twin-tip ends so you can land switch without losing your platform; the edges are more rounded so they do not catch on rails. The bindings are mounted further towards the centre to spread your weight evenly fore and aft. The poles are shortened so they cannot spear into the snow on a landing you have not controlled.
A helmet is compulsory everywhere in Era Marmota. At Alpine we also recommend one with MIPS (Multi-directional Impact Protection System), an inner layer that rotates slightly under a side impact and reduces the risk of concussion — particularly relevant in freestyle, where the impacts are not only vertical but rotational too.
From the green line to the blue line: how we measure real progress
At Alpine we do not move a student up a line because they have landed a trick once. We move up when they repeat it consistently — several correct runs in a row, a lined-up approach, no abrupt corrections on the lip, touching down inside the landing. That consistency, not the isolated attempt, is what tells us the movement is now safe to repeat on a more demanding feature.
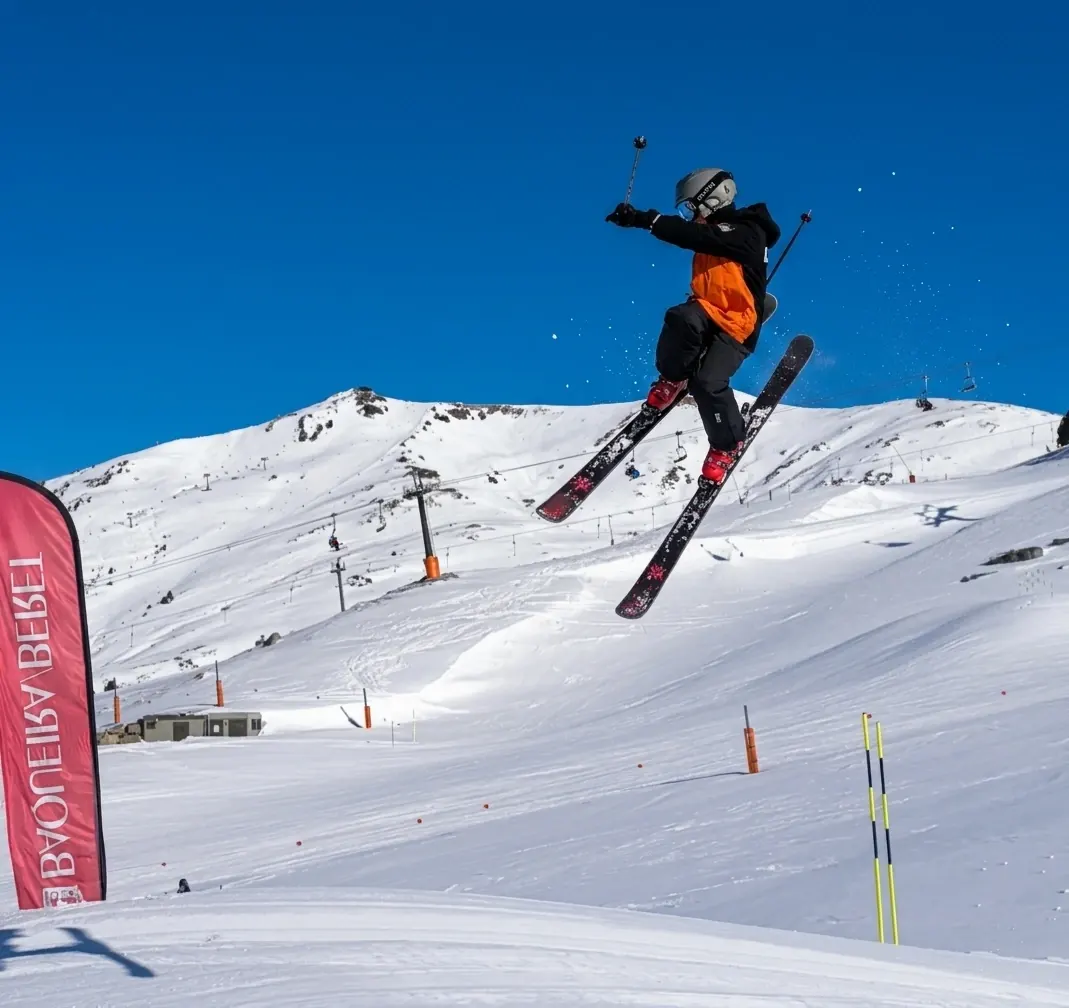
One of our young students last season — 11 years old — built up a blue-line jump this way, step by step, in a single session. He started with several straight airs riding forwards, in a straight line, until the approach and the landing were solid and repeatable. On that base he added a full 360, still taking off and landing forwards. Then he took the next step: a switch approach, 180º of rotation in the air and a forwards landing — his first real taste of the missing visual reference that skiing backwards demands. Only when that movement was consistent too did he ask to try the full switch entry.
Before we let him try it, we stood him in front of the feature to watch several runs by other riders on the same jump — where they regulated their approach speed, at what moment they started the rotation, how they arrived centred or off-centre depending on the exact timing. From that watching he worked out, without anybody explaining it to him in words, when to let the skis run more and how to adjust his line so as not to arrive over- or under-rotated at the landing. Two brief pointers from us and that process of visual analysis were enough — what really fine-tuned every step of the progression was his own reading of the speed and the movement of the riders jumping before him, built trick by trick, never all at once.
What to do if somebody falls in front of you on a feature
Falls are part of learning, but the landing has to be cleared as quickly as possible.
Feature blocked
Arms crossed in an XIf somebody falls and the landing is blocked, cross your arms above your head to warn whoever is coming next that the feature is closed.
All clear
Arms in a circleOnce the rider is back up and out of the area, make a circle with your arms above your head to let the next person through.
Never stand still below a jump, on the knuckle or in the landing itself — not to help and not to film. If the fall is a serious one, alert the resort staff immediately.
A space that grows because somebody looks after it every day
At Alpine, Sergi and Pablo apply this same logic in every session: piste first, park second, always with judgement and never in a hurry. Progression is not improvised — it is built with the same quality repetitions that turn a movement from an isolated attempt into something the body already knows how to do.
Book your freestyle lesson in Baqueira
If you want your progression at Era Marmota to follow this same approach — observation, a plan and safety ahead of quick results — message us and we will confirm availability with Sergi or Pablo.