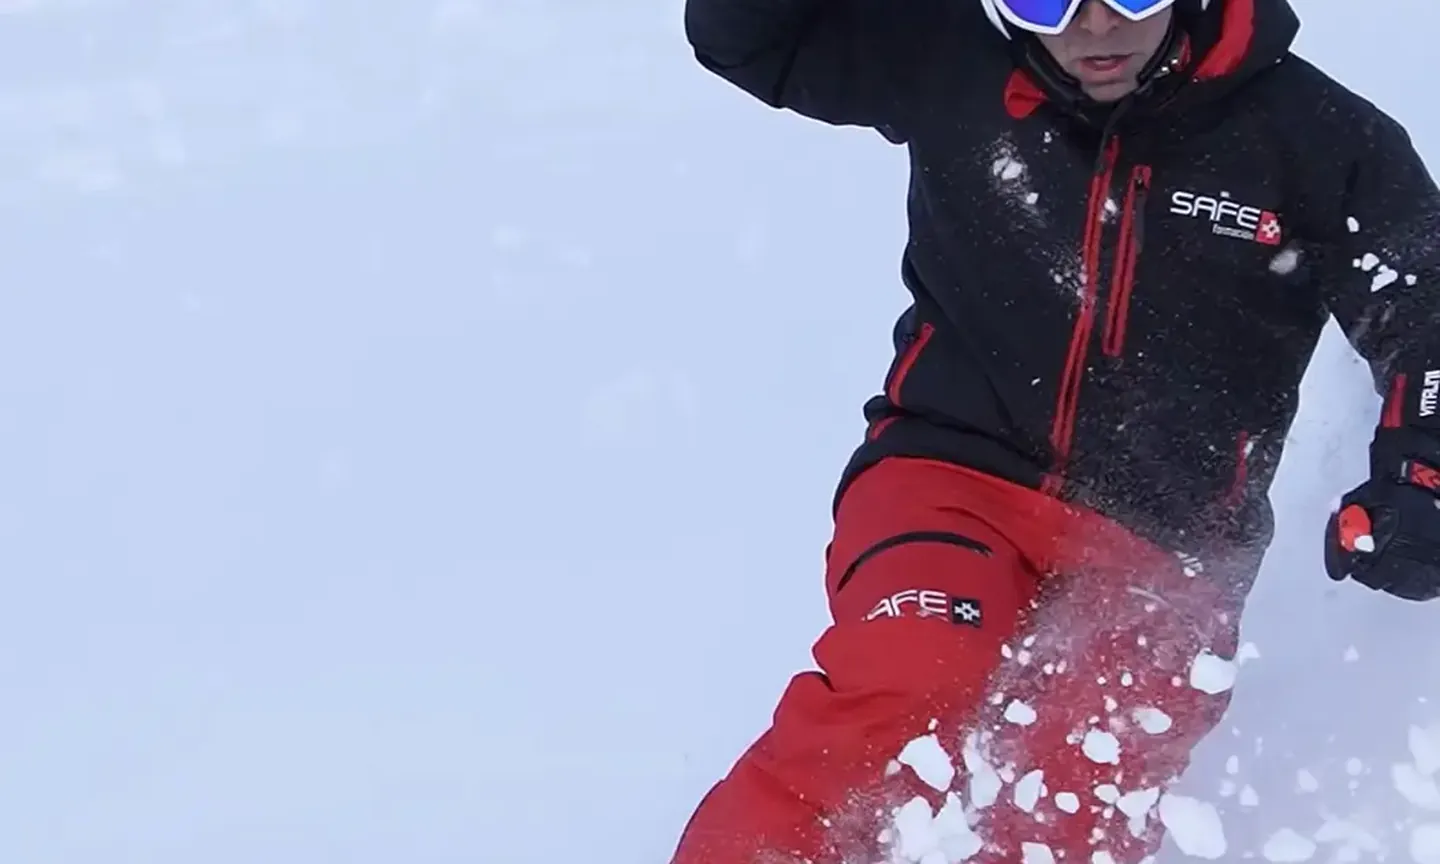
Freeride safety in Baqueira does not depend on how well you ski powder. It depends on the state of the snowpack and on the decisions taken before and during the descent.
It depends on how much snow has fallen in recent days and how the wind has worked it. It depends on the temperature gradient, which transforms the crystals inside the snowpack, and on whether the deeper layers have settled. And it depends on the terrain: the zone chosen, the steepness, the shape of the slope and the tactics used to descend.
The Baqueira Beret ski area offers a lot of off-piste terrain within reach of the lifts. That closeness is exactly what makes it deceptive. On a sunny day after a snowfall the faces look like an invitation, and seeing other skiers' tracks gives a false sense of permission. Someone having skied it before does not mean the slope is safe.
Many skiers who are at home on red and black runs come to freeride with that doubt: they can ski, but they cannot read the mountain. In our freeride lessons in Baqueira, that reading is as much a part of the lesson as the technique. In this guide we explain how we prepare each day. You will see how we interpret the Lauegi bulletin and the state of the snowpack, how we choose the zone and the descent tactics, when we decide not to go out, and what the transceiver, shovel and probe really do.
Why is skiing well not enough for safe freeride?
The first block for the skier who wants to go off-piste is confusing technical level with decision-making. Skiing a Baqueira black run comfortably proves technique, but it says nothing about whether you can read a slope loaded with wind-blown snow. They are two different skills, and the second is not acquired by skiing more runs.
The second is the confidence given by other people's tracks. Seeing a face already skied suggests someone has checked that it is safe. In reality, every passage can load the snowpack a little more, and the track only proves that this person descended without incident that day and at that hour. A slope can take many skiers until one steps exactly on the weak point.
The third is familiarity. A slope you have skied many times is not the same slope every day. Recent snow, overnight wind or several days of hard frost change how it behaves, even though the landscape looks identical.
The fourth is eagerness. The first sunny day after a big snowfall is the most tempting and, often, one of those that demands most caution. Pent-up excitement pushes you into terrain that would be better left to settle.
None of these mistakes is technical. They are errors of reading and judgement, and so they are corrected by learning to look at the mountain with criteria, not just by skiing better.
What does an instructor check before a freeride day in Baqueira?
The freeride day starts before the first lift. The evening before we read the avalanche danger bulletin from the Centre de Lauegi for the Val d'Aran and the weather forecast, and we check them again in the morning before setting off. We also review how the last few days have gone: how much it has snowed, with what wind and at what temperatures.
That history weighs as much as the day's report. The same snowfall does not behave the same on a well-settled base as on a weak layer. That weak layer usually forms after several days of hard frost with little snow depth, when the temperature contrast inside the snowpack breaks down the cohesion between the crystals.
To that reading we add the Baqueira Beret piste and lift report. It tells us which sectors are open and which lifts are running. That way we choose zones that work that day and do not waste time travelling to a closed or unreachable sector.
Then we think about the group: real technical level, fitness, previous off-piste experience and the goal for the day. With all that we draw up a main plan and its alternatives: which zones are possible, in what order, and at which points we will reconsider if something does not add up.
The plan is not closed at home. Whenever possible, from the chairlift we watch how slopes of similar aspect and steepness to the ones we want to ski react to other skiers. We do it throughout the day, because the snowpack changes by the hour. We do not take it as permission, but as one more piece of data added to the bulletin.
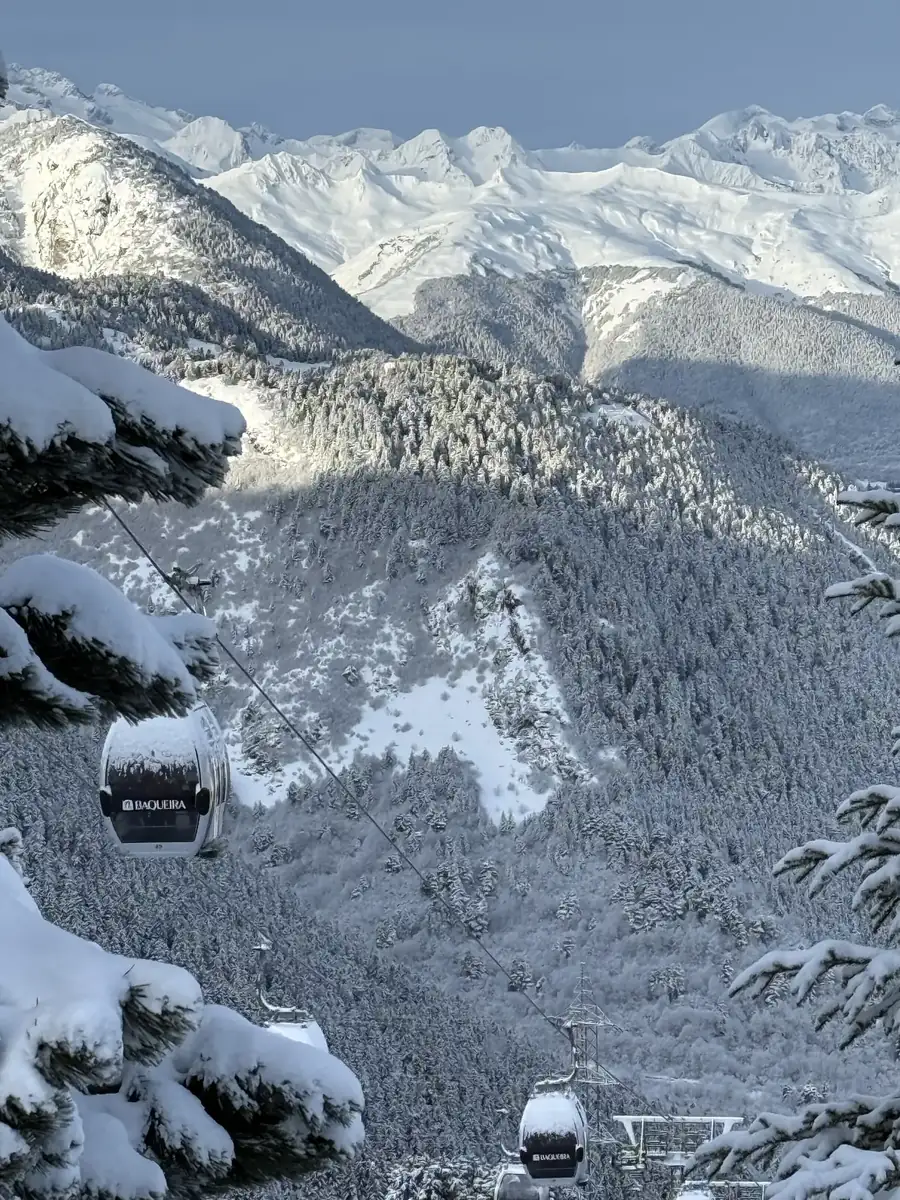
In the snow we also look for other signs: wind marks, cracks that open underfoot, collapses of the snowpack with their characteristic dull whumpf, recent avalanches and the change in temperature through the day. If the mountain does not match the report, the mountain wins.
Recent snow, wind and temperature gradient: when is the snowpack stable?
The snowpack is a set of snow layers of different ages and qualities. Its stability depends on how those layers are bonded to each other. A slab avalanche happens when a cohesive layer rests on a weak one, and a skier's weight is enough to break the bond.
How much snow has fallen, and how fast
It is not only how much recent snow there is, but how fast it fell. When it snows gradually over several days, the snowpack has time to settle and absorb the weight. A heavy snowfall, of the order of 30 cm or more in a day, leaves a load on the snowpack that has not yet bonded to the layers below.
Wind: the slab maker
Wind strips snow from the slopes it blows across and deposits it on sheltered, lee slopes. On the way it breaks the crystals and packs them. The result is a dense, tensioned slab, often matt, rippled or cardboard-like in appearance, which can look like good snow and hide a great deal of instability.
Temperature gradient: why cold is dangerous too
The ground stays near 0 °C under the snow. If the air is very cold and the snowpack is thin, the temperature difference between base and surface is large. That temperature gradient turns the crystals into faceted forms that do not bond to each other and act as a base with no grip.
It happens above all early in the season and on wind-swept ridges, where snow depth is low. That weak layer can last for weeks, especially on north faces, where the sun barely reaches. When the snowpack is deep and temperatures are mild, the effect is the opposite: the crystals round off, weld together and the snowpack settles.
Buried layers: surface hoar and crusts
Two innocent surfaces can become a problem when a snowfall covers them. Surface hoar forms on cold, clear nights. Once buried, it is one of the most persistent weak layers. Melt-freeze crusts, typical of south faces, become a smooth plane on which new snow can slide.
| Conditions that settle the snowpack | Conditions that destabilise it |
|---|---|
| Moderate snowfalls spread over several days | Heavy snowfalls in a few hours |
| Calm wind during and after the snowfall | Moderate or strong wind, forming slabs on lee slopes |
| Deep snowpack and mild temperatures, just below freezing | Thin snowpack with hard frost (strong temperature gradient) |
| Rough old surface, anchoring the new snow | Buried surface hoar or a smooth crust |
| Solid overnight refreeze in spring | Nights without a refreeze, or rain on recent snow |
That is why our reading is never limited to the day's snowfall. What decides whether a slope is skiable is the full history of the snowpack over recent weeks. The Lauegi bulletin sums it up, and we know it first-hand because we ski in the resort every day with our eyes open, watching how the snow evolves from one day to the next.
Steepness, terrain shape and aspect: how do we choose the freeride zone?
With the snowpack read, the next decision is the terrain. The same snow can be safe on one slope and dangerous on the one next to it. The difference comes from the steepness, the shape of the slope and which way it faces. Also from the natural anchors at its base, such as rocks, vegetation and trees, which you only know if you know the mountain without snow.
Steepness: why 30 degrees is the threshold
The vast majority of slab avalanches are triggered on slopes between 30° and 45°. That is the steepness at which snow builds up enough depth and stays under tension without falling on its own. Below 30° a slab is unlikely to release, unless the slope is connected to a steeper face above.
| Steepness | Usual snowpack behaviour |
|---|---|
| Under 30° | The snow sits stable. The risk comes from any faces above. |
| Between 30° and 45° | The critical band: where most slabs form and release. |
| Over 45° | The snow tends to purge itself during or soon after the snowfall. It accumulates less, but it demands another technical level and is not beginner terrain. |
The shape of the slope: where the danger concentrates
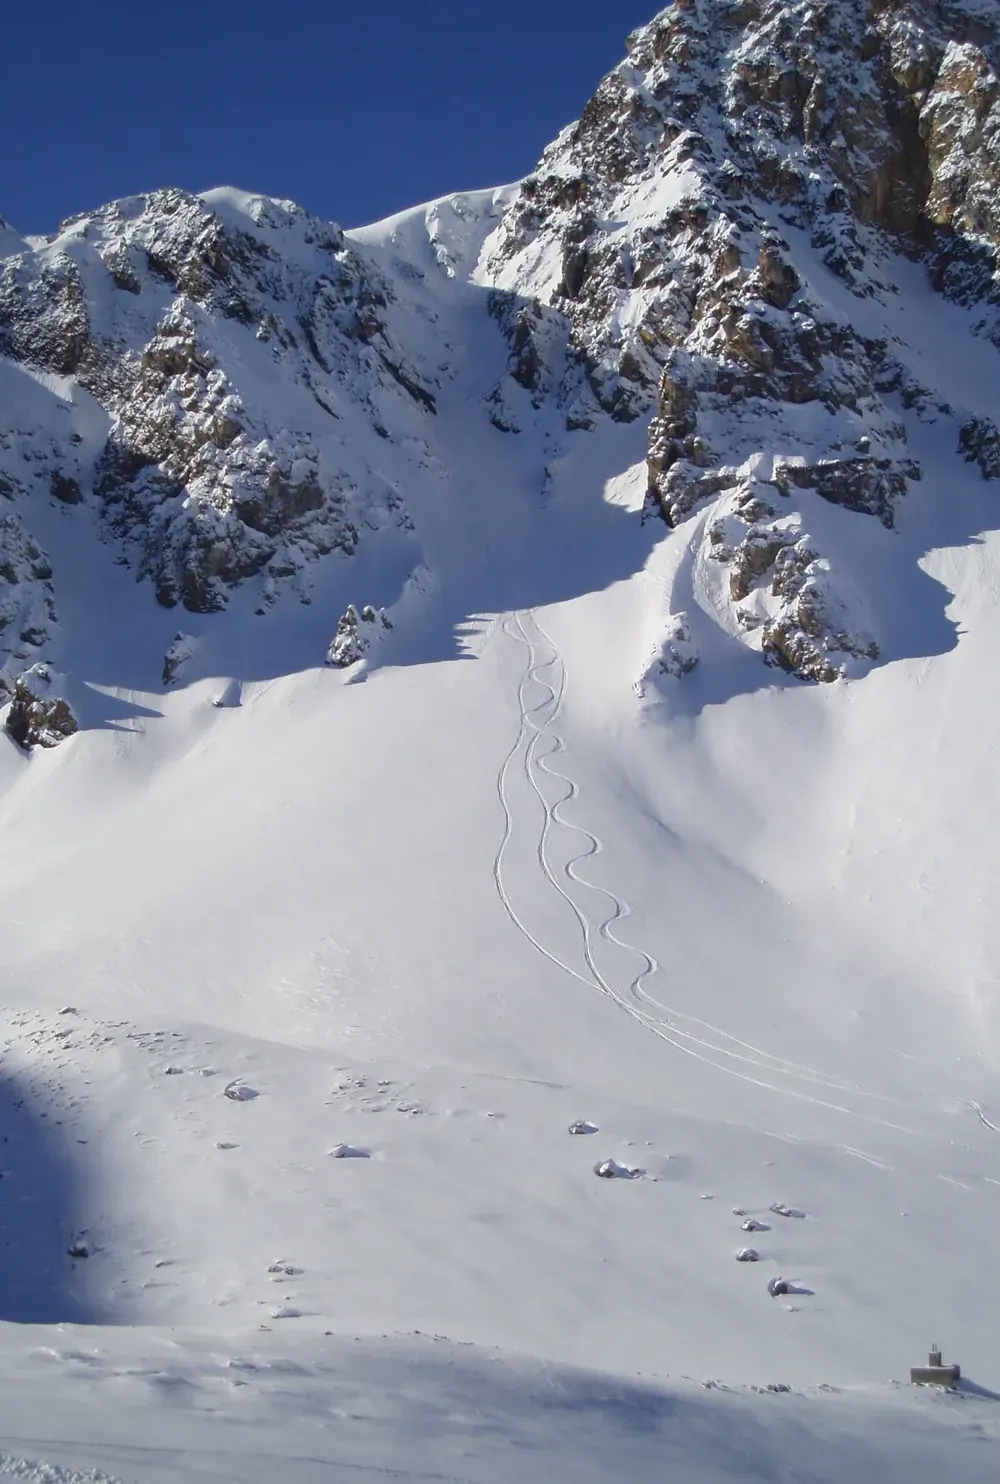
Within a single face some points are more delicate than others. Convex rolls, where the slope "leans out", are where the slab is under most tension and where it breaks most often. Gullies and couloirs collect the snow that slides down or is blown in, so a small avalanche can pile up to a great depth there.
The bottom counts too. A flat area at the foot of a steep face looks like a good place to wait, but it is the run-out zone of any avalanche.
Natural anchors: knowing the mountain without snow
What lies under the snow affects how the snowpack holds. Rough ground, with rocks and scrub, anchors the lower layers. A slope of smooth grass or rock slabs offers a surface on which the whole depth of snow can slide, especially in spring warmth.
That is why knowing the mountain in summer is part of reading it in winter. Knowing what lies under a face changes the decision, even if on the surface it looks the same as the one beside it.
Rocks poking through where the cover is thin also matter. Around them the snowpack is shallower, it weakens more easily and the weak layer sits closer to the surface, within reach of a skier's weight. That is why they are common places for a fracture to start.
Trees work in two opposite ways. Dense forest slows the wind and holds the snow. An isolated clearing among trees, by contrast, collects wind-blown snow and has no lateral escape if it releases.
Aspect: north, south and what changes on each
North faces get little sun in winter. They hold the cold and, with it, weak layers can persist for weeks. South faces go through warming and refreezing cycles: they can be hard in the morning and lose cohesion by midday, with a risk of wet-snow avalanches. East and west faces combine the sun's effect at different hours with that of the wind.
That is why the time of day is part of the choice too. A south slope can be a good option first thing and a bad one at midday. An area as large as Baqueira Beret almost always offers alternatives in aspect, and finding the right one at the right moment is part of the instructor's job.
The questions we ask before dropping into a face
Before taking the group onto a slope, we always run through a set of questions:
- Where has the wind blown from these days, and where could it have deposited snow?
- How steep is the face, and where is the sharpest change of gradient?
- What is under the snow: ground that anchors it, or a smooth surface?
- Which way does it face, and how is the sun affecting it at this hour?
- How have similar slopes reacted to other skiers today?
- If the snow moves, where does it go? Are there gullies, cliffs or trees below that would make the consequences worse?
- What descent tactics do we follow? Which line leaves us a lateral escape, and what safe points do we have while descending and when we stop?
- Is the group ready for this face, technically and physically?
- Do we have an alternative if we decide not to drop in?
If several answers point to the same place as a problem, that zone is ruled out for the day.
Descent tactics: how do you ski an off-piste slope safely?
Choosing the slope well is half the work. The other half is how you ski it. The principle is to reduce exposure: at any moment, as few people as possible in the risk zone, and always a way out of it.
Safe lines: where the descent is drawn
Not all lines on the same face expose you equally. Ridges, broad spurs and the edges of the slope are usually safer than the middle of a gully or a line straight over a convex roll. Whenever the terrain allows, we draw the descent through those areas and avoid passing above terrain traps such as couloirs, cliffs or isolated trees.
The line is decided before dropping in, not on the move. Every student knows where they will ski, where to stop and which way to exit if they feel the snow move.
Escape routes: always knowing the way out
A good line always leaves a lateral exit to safe ground. If the slab breaks, the best option is to move diagonally towards the edge, never to try to outrun it downhill. That is why we rule out confined lines, where there is no escape to either side.
The escape route is planned at the scale of the day too. Before heading into an area, we know how to get back to a run or a lift if conditions change, the group tires or the snow is not what we expected.
One at a time, stopping in safe places
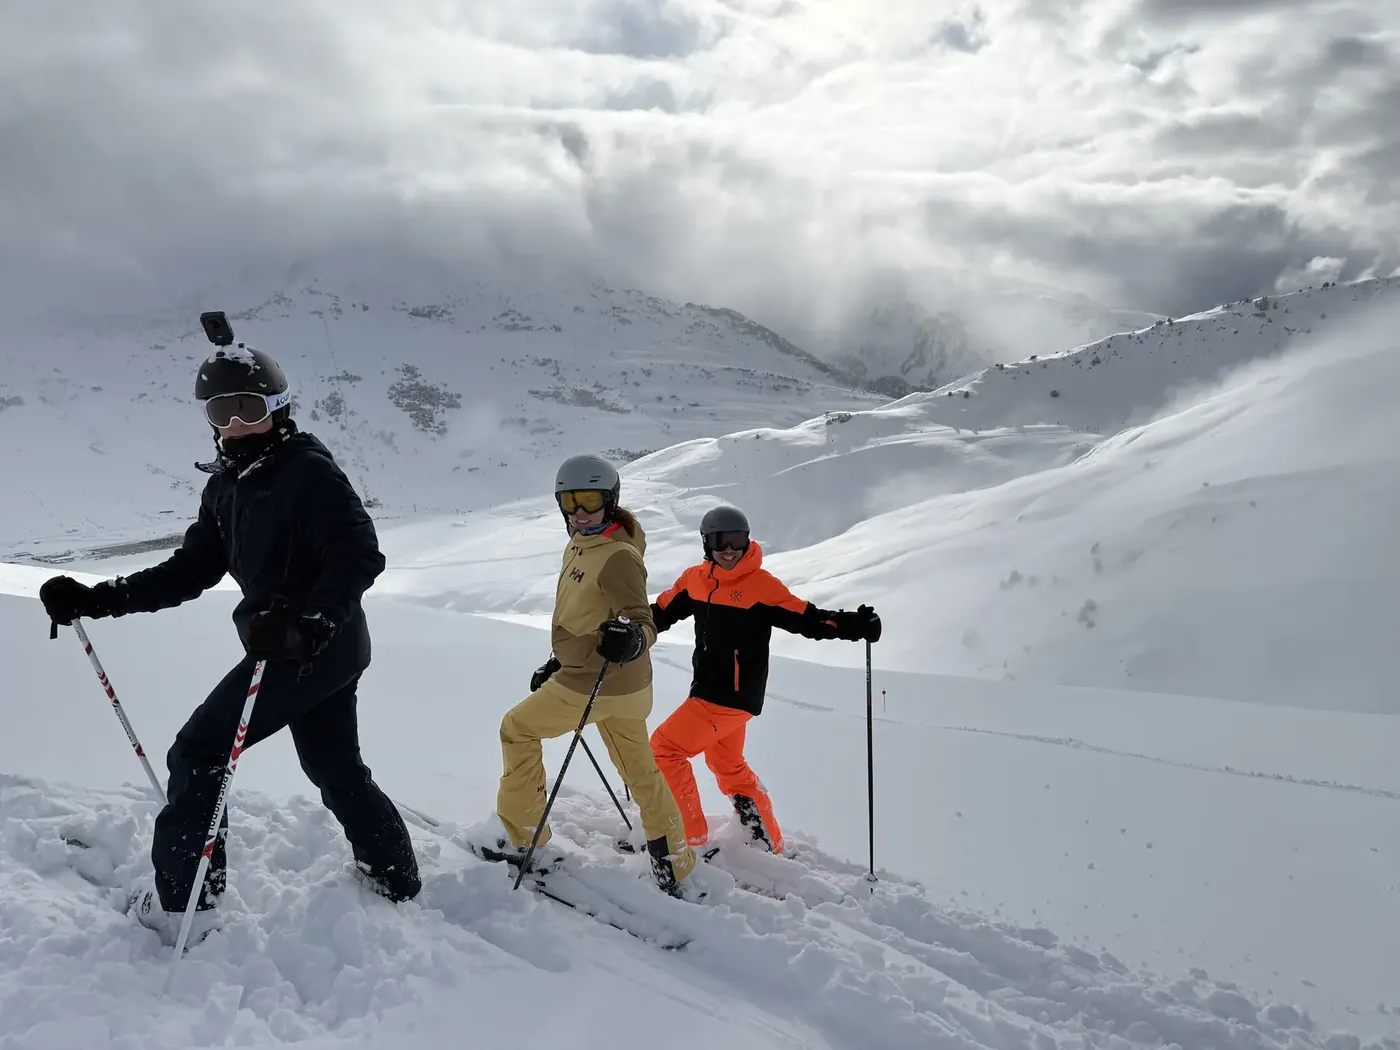
On suspect slopes the group descends one at a time, with wide spacing. The next person does not start until the previous one has reached a safe area. That way, if something happens, only one person is exposed and the rest can help from out of danger, keeping them in sight.
Stops are made on islands of safety: raised ridges, flat areas out of the path of a possible avalanche, or dense forest. Never below a break of slope, at the bottom of a gully or under a cornice, however comfortable a place it looks to wait.
Before dropping in: checks and roles
Before every committing descent we check that all transceivers are in send mode. Everyone knows who leads, who closes and what to do if someone is caught. And any member of the group can say no: if anyone has doubts or is afraid of a face, they are not pushed into skiing it.
When should you stay on-piste even though the day looks perfect?
The most tempting days are usually the ones that demand most caution. Blue sky after a big snowfall, nobody on the faces and powder up to your knees is the image every freerider waits for. It is also, often, a day when the snowpack has not yet absorbed the new snow.
Zones we never ski, whatever the day
There are slopes in Baqueira that are not on our freeride map. We know their history: they slide again and again, season after season. That they have not moved on a given day means nothing, because sooner or later they will slide again. So we do not assess them each day or wait for them to look safe. We simply do not treat them as skiable terrain.
That knowledge is on no piste map. It builds up by skiing the same mountain winter after winter and watching where and when the avalanches repeat.
Our rule by the danger level in the Lauegi bulletin
The Lauegi bulletin uses the European avalanche danger scale, from 1 to 5. Our starting rule is Werner Munter's elementary reduction method, a reference accepted in the profession. It links the danger level to the maximum steepness of the slopes you can ski on the aspects and altitudes the bulletin flags as unfavourable.
| Danger level | Steepness limit (ERM) | How we apply it |
|---|---|---|
| 1 · Low | No general limit | If conditions are good too, this is the day for demanding faces, with the same terrain reading and the same tactics as always. |
| 2 · Moderate | Avoid slopes steeper than 40° | We weigh up whether what we planned can be skied. |
| 3 · Considerable | Avoid slopes steeper than 35° | Stricter: if the assessment is not clear, we choose simpler terrain. |
| 4 · High | Avoid slopes steeper than 30° | Nothing above 30°. |
| 5 · Very high | Nothing off-piste | Runs only, their edges and areas closely controlled by the resort. |
These limits are not a target to approach but a margin you do not cross. And steepness is only one factor: a slope below the limit can still be ruled out for everything else this guide explains.
Level 4 is, in practice, one of the most treacherous. Unlike level 5, the day can look skiable, and it is easy to grow overconfident. That is why it is the level at which we apply the 30° limit most strictly.
The opposite is also true. Level 1 with good conditions is when you ski the steep lines: if you do not take those days, you will never ski them. And freeride is not only untouched powder. A steep slope with good packed snow is freeride too, and those are the ideal days for it.
At any level, off-piste decisions are taken calmly and with safety always first.
Signs in the snow that turn us around
There are signs the mountain gives that are not up for debate. A collapse with a dull whumpf under your skis means a weak layer has just broken. Cracks that open and shoot away from your skis show a slab under tension. A hollow sound underfoot or when you plant a pole betrays a void or a fragile layer below the surface. And recent avalanches on similar slopes are the clearest proof that the problem exists today.
When any of them appears, we do not test how much the slope will take. We leave that terrain by the safest line and change the plan.
Conditions that make us rethink the day
Other situations are not an immediate alarm, but they change the decision before setting off. Heavy snowfall with strong wind in the last few hours. A sharp rise in temperature or rain on recent snow. Large, fresh cornices on the ridges, a sign of active snow transport. Or a Lauegi bulletin that places the main problem precisely on the aspects and altitudes we wanted to ski.
What does not depend on the snow counts too. In fog you cannot read the terrain or watch the person skiing down. A tired group skis worse and reacts later. In those cases, the best freeride of the day may be at the edges of the runs or on gentle terrain.
Changing the plan is the norm, not the exception
Snow is alive and every snowfall differs from the last. That is why we change the day's plan very often. Sometimes a clear sign decides it. Other times there is no alarm at all, but what we see and weigh up leads us to choose simpler, lower-risk zones, simply because that is what the day calls for.
That flexibility is what lets you enjoy freeride for many years. The goal is not to ski the most spectacular face of the day, but to ski the best snow that can be skied that day with a reasonable margin of safety.
Deciding not to go is also learning freeride
Giving up a face is not losing the day. It is one of the hardest decisions to take and one of the most instructive in a freeride lesson. A student who sees their instructor turn back, and understands why, takes away judgement that will serve them for life in the mountains.
Freeride safety kit: transceiver, shovel, probe and protection
Going off-piste without a transceiver, shovel and probe is not an option. They are three tools that work together, and none is much use without the other two. In our freeride lessons every person in the group must carry their own safety kit. Anyone without it can hire it from specialist shops in the area. Not every rental shop stocks transceivers, shovels and probes, so it is worth confirming when you book.
What each one does
The transceiver, also called an ARVA or DVA (avalanche victim detector), is a transmitter-receiver. During the descent it sends a signal. If someone is buried, the rest of the group switches to search mode and follows that signal to the area where the victim is.
The probe is a folding pole you push into the snow to pinpoint the buried person and find out how deep they are. The transceiver gets you close, the probe confirms.
The shovel is for digging out. It is the phase that takes most time and effort, and without one it is practically impossible to get someone out from under an avalanche in time.
| Tool | Function | Without it… |
|---|---|---|
| Transceiver (ARVA / DVA) | Locate the area where the victim is | Nobody knows where to search |
| Probe | Confirm the exact position and depth | You dig blind and lose time |
| Shovel | Dig the victim out | Getting them out in time is almost impossible |
The avalanche airbag, or avalanche backpack, is one more piece of safety equipment. When triggered, it helps keep you on the surface of the avalanche. It does not replace the transceiver, shovel or probe, but it is worth knowing how it works, and anyone who can carry one gains a further margin.
Helmet and protection: it is not all avalanches
Off-piste, not all the risk comes from avalanches. Ungroomed snow can be treacherous: a hard slab under the powder, a crust that breaks or an unexpected change in the snow can throw you down and into a tree or a rock.
That is why a helmet is compulsory in our freeride lessons. A back protector is highly advisable. If the day goes through a lot of branchy forest, a chest protector too. Beyond the helmet, each skier decides what protection to wear, but it is best to decide before setting off, not after a scare.
| Protection | In our freeride lessons |
|---|---|
| Helmet | Compulsory |
| Back protector | Highly advisable |
| Chest protector | Advisable on days with a lot of forest |
| Avalanche airbag | Advisable for anyone who can carry one |
Why rescue depends on the group itself
In an avalanche, the first 15 minutes are decisive for the survival of a buried person. Professional rescue teams can rarely arrive within that window. So the real rescue is done by the companions who are there, with the kit they are carrying and what they know how to do with it.
The basic sequence is always the same. Everyone marks with their eyes the point where the person disappeared and checks there is no risk of a second avalanche. Then everyone switches their transceiver to search and the signal is located. Finally you probe and dig. As soon as anyone in the group is free of tasks, they call the rescue services.
Before going off-piste, everyone in the group should have the emergency numbers saved in their phone:
| Service | Phone |
|---|---|
| Emergencies | 112 |
| On-piste emergencies, Baqueira Beret | +34 973 63 90 50 |
| Pompièrs d'Aran (fire and rescue) | +34 973 64 00 80 |
Looking them up at the moment of the accident wastes minutes you do not have.
What the kit cannot replace
The transceiver, shovel and probe are for after an accident has happened. They do not prevent it. Carrying them does not make a slope safer or justify dropping in where you should not. Everything this guide explains about the bulletin, the snowpack, the terrain and the tactics exists so that you never have to use them.
They are no use either if you cannot use them. In our lessons we always check every transceiver's signal before going off-piste. But mastering a real search, with probing and digging, needs a specific avalanche rescue course. If you are going to freeride often, it is training we recommend.
What level do you need for freeride, and what terrain do we choose each day?
You do not need to be an expert skier to start freeriding. With a polished parallel and ease on red runs you can already take your first steps in ungroomed snow, always on the right terrain. If your level is lower, we adapt the work in ungroomed snow to simpler exercises, in which you feel the snow and pick up good habits. Our introduction to freeride in Baqueira explains in detail when you are ready to try it.
What that guide cannot tell you is where to ski each day, because it depends on conditions. In our lessons the order of the decision is always the same: the day comes first (bulletin, snowpack and visibility) and the group's level second. The same zone can be perfect for a beginner one day and ruled out the next.
Beginner terrain
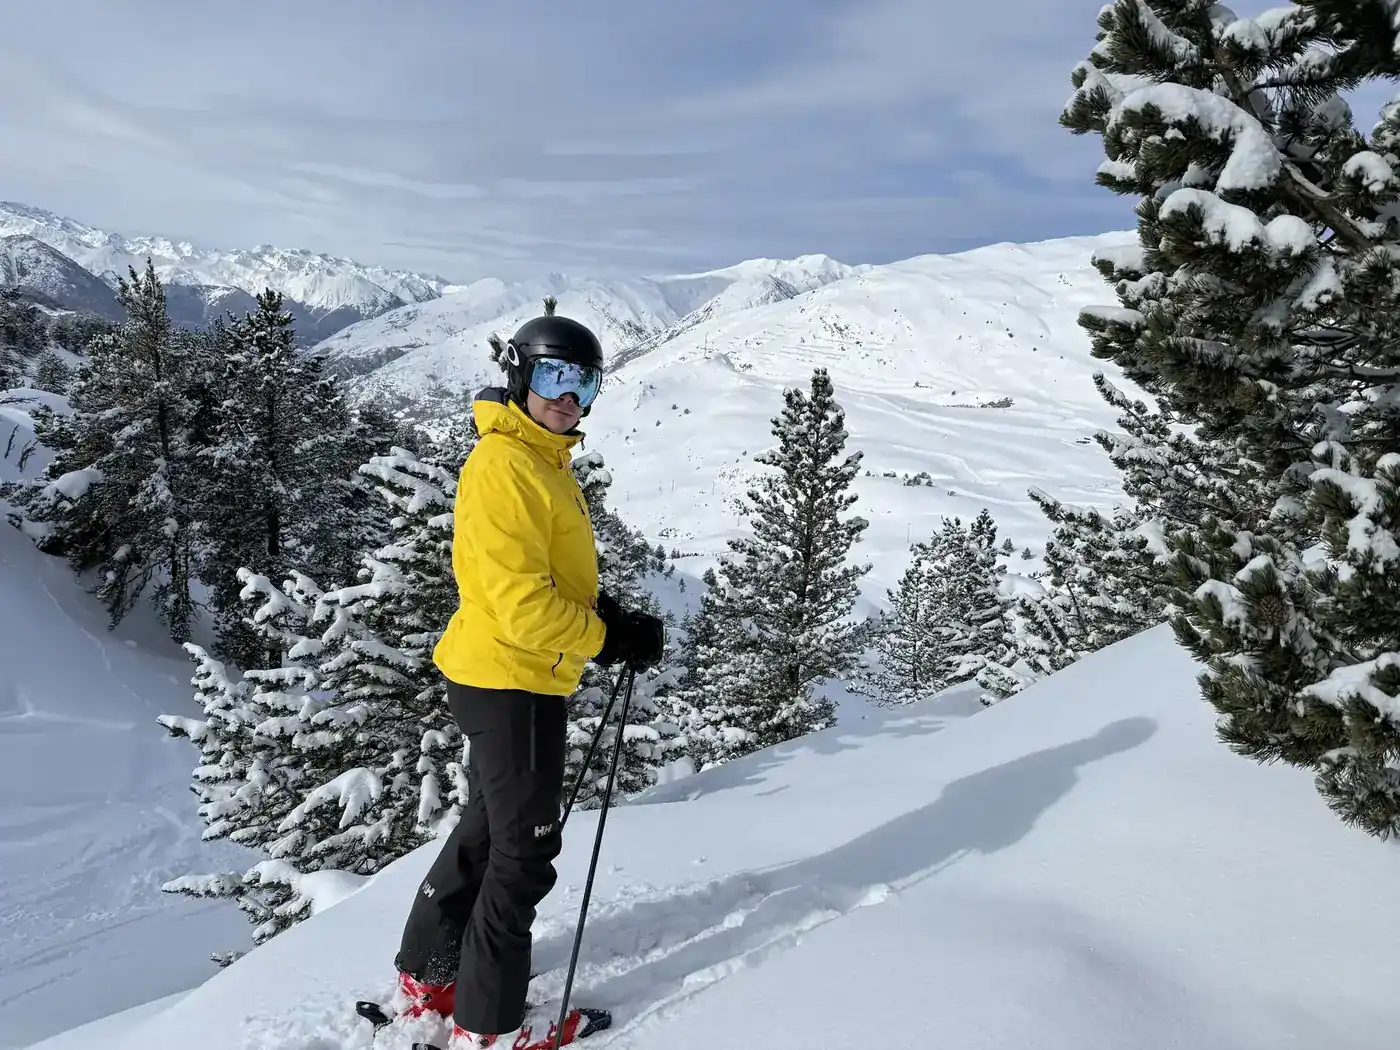
For first contact with off-piste we work in areas such as Argulls and the gentle transition at Beret. They are low-angle slopes, close to the runs and with simple exits. There the student learns to move in variable snow without being exposed to critical steepness, and starts to look at the terrain with the criteria in this guide.
Advanced terrain
With more level, and when the day allows, the terrain opens up to sectors such as Manaud-Solei, Escornacrabes, Pasarells, Teso dera Mina or la Peülla, in Bonaigua. These are steeper, more committing zones. We only go into them when the bulletin, the state of the snowpack and the group's level line up, and always within the steepness limit set by the day's danger level.
What qualification does a freeride instructor in Baqueira need?
In Spain, the official qualification for ski instructors is Técnico Deportivo en Esquí Alpino, regulated by Royal Decree 319/2000. It has three levels, and not all of them allow teaching off-piste.
| Qualification | Where they may teach |
|---|---|
| TD1 · Técnico Deportivo level 1 | Marked runs only |
| TD2 · Técnico Deportivo level 2 | Marked runs and off-piste inside the resort's ski area |
| TD3 · Técnico Deportivo Superior | Marked runs and off-piste inside the resort's ski area |
| Mountain guide (UIAGM/AEGM) | Ski touring and terrain outside the ski area |
The legal boundary of freeride is not between TD2 and TD3, which have the same scope. It is at the edge of the ski area. Inside it, level 2 and 3 instructors may teach off-piste. Beyond it, in ski touring, the competence belongs to mountain guides.
The real difference between a TD2 and a TD3 is professional level: training other instructors, running schools, high-performance coaching. At Alpine Ski Academy, freeride lessons are taught, as a rule, by level 3 instructors. It is not a legal requirement but the school's own standard, based on training and on experience managing risk off-piste. If no TD3 is available on your dates, we tell you and propose a TD2 with proven freeride experience.
What to ask before booking a freeride lesson
Beyond the certificate, it is worth asking about the instructor's actual off-piste experience. How many seasons they have taught freeride in that resort, what training they have in snow and avalanches, and how they decide where to ski each day. A good freeride instructor will have no problem explaining their reasoning. That is precisely what they are teaching you.
Alpine's advice for starting freeride safely
My advice is to start the opposite way round from most people. Before buying wide skis or an avalanche backpack, learn to look at the mountain. Kit is bought in an afternoon; the judgement to decide where and when to ski is built season by season.
The first days with an instructor are for exactly that. You do not only improve your technique in ungroomed snow: you see how each decision is made, why one face is ruled out and another chosen. If you then want to go out on your own, complete that base with a specific avalanche rescue course.
And make the most of the good days. Low danger and good conditions are when you really progress off-piste. At our ski school in Baqueira Beret we plan every freeride lesson around the day, to get the most out of what the mountain allows.
Book your freeride lesson in Baqueira
If you want to start skiing off-piste, or to do it with better judgement, message us on WhatsApp. Tell us your level and your dates, and we will prepare the day around what the mountain asks for.
Víctor Puche Fita — TD3, SAFE Formación demonstrator, founder of Alpine Ski Academy.
Sources: avalanche danger bulletin from the Centre de Lauegi (Val d'Aran) · Elementary risk reduction method, Werner Munter (3×3 Avalanches) · Royal Decree 319/2000, Técnico Deportivo en Esquí Alpino qualifications · Emergency numbers, Ajuntament de Naut Aran.